It can be annoying when you read instructions on how to install your grout tile backsplash, and one of the directions is that you simply “apply” the grout. It’s as if it’s always that easy.
Maybe that’s true for DIY experts and professional tile installers. But it’s a different matter for absolute newbies in DIY projects. The good news is that we have some tips you can take note of to help you out when it’s time to grout the tile backsplash.
If you encountered issues while cutting tiles, figuring out how to grout properly could be even harder. Although if you learn how to do it right first, there’s a chance it will be much easier, although messier.
Choosing the Grout Color
This may depend greatly on your own personal preferences.
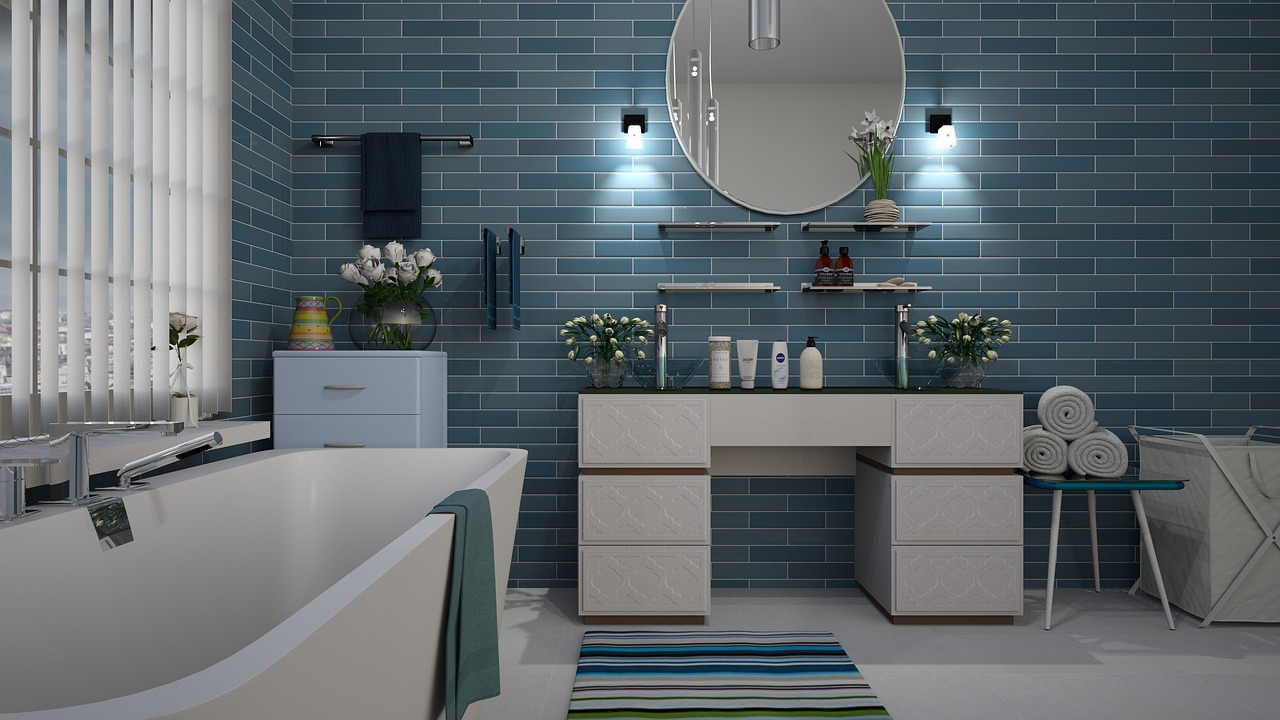
- Some people go with white, especially with white tiles for a clean look. It’s also a nice contrast to darker tiles. Just keep in mind that white grout shows the grime and dirt on it more easily.
- Dark grout is better at hiding the dirt. It offers a uniform look with darker tiles, while you get a nice contrast with white tiles. But this contrast can make it obvious if you have any uneven tiles.
- Gray tiles can be a good alternative, as it doesn’t show off the grease as easily as white grout. It also offers contrast with darker or white tiles, and it’s a nice backdrop for patterned tiles.
- Or you can always go with another color altogether. Just make sure the color pairs nicely with the colors and patterns of your tiles.
Picking the Right Grout Type
Picking your grout isn’t about the color of the grout. It’s about the type of grout you ought to use.
- Finely sanded grout. The purpose of the sand is to minimize the shrinkage and boost the durability. This is your best option with medium-sized joints, when they measure anywhere between ⅛ to ⅜ of an inch.
- Unsanded grout. If you have narrow seams measuring less than ⅛ of an inch, this is your other choice. It’s great if you don’t want your grout to have a gritty look, since this offers a smoother texture. You don’t want to use this with wider seams, as you may end up with cracking (unlike with finely sanded grout).
- Quarry type. Go with this option with seams that measure ⅜ to ½ of an inch. It’s also a good option for slate, quarry, and treated terracotta tiles.
- Epoxy. Some folks like this because it’s stain-resistant and less porous than other options. It’s good for kitchens where the backsplash may have to deal with grease and acid. But it’s hard to use for newbies, and it dries very quickly.
Preparing Your Grouting Tools
Make sure you have the following:
- Caulk
- Cloth
- Grout
- Grout float
- Grout sealer (if you need it for your type of grout)
- Painter’s tape
- Plastic sheeting
- Putty knife
- Sponge
- Two buckets
Grouting the Tile Backsplash
Now you can begin!
- Use the plastic sheeting to protect your countertops. Use the painter’s tape to secure the plastic sheeting at its corners.
- Unless you’re going with premixed grout, mix the grout in one of your buckets, using the putty knife. Mix according to the manufacturer’s directions, though usually you have to end up with the grout as thick as creamy peanut butter. You should also only grout that’s sufficient for a small area. That’s to keep the grout from hardening before you’ve applied it!
- Now, you should start working on small areas first. You can always mix your next batch of grout for the next section.
- Use the grout float to spread the grout over the tiles to fill in the joints. Use a 45-degree angle to firmly spread the grout in an upward direction.
- Let the grout dry for about 15 minutes or so once you’re done with all the sections.
- While you’re waiting, fill in the 2nd bucket with warm water.
- After the 15 minutes, use the sponge with the water to wipe off the extra grout from your tiles.
- Now you have to let the grout dry complete. This will take several hours, at the very least. (Take a meal, get a nap, watch a movie, or do some other chores in the meantime).
- When you’re sure the grout is totally dry, use the cloth to wipe away any excess grout from the tiles.
- Now, wait for at least 24 hours, so you’re continuing the work the next day.
- Use the cloth with the sealer to seal the grout, if this is required. Don’t use the area yet until the sealant is completely cured.
- Apply beads of caulk on the backsplash along the windows, corners, and countertops.
- When the caulk dries, you’re done and you can continue using your backsplash normally.
As you can see, the whole process is a bit more complicated than just “apply the grout”!