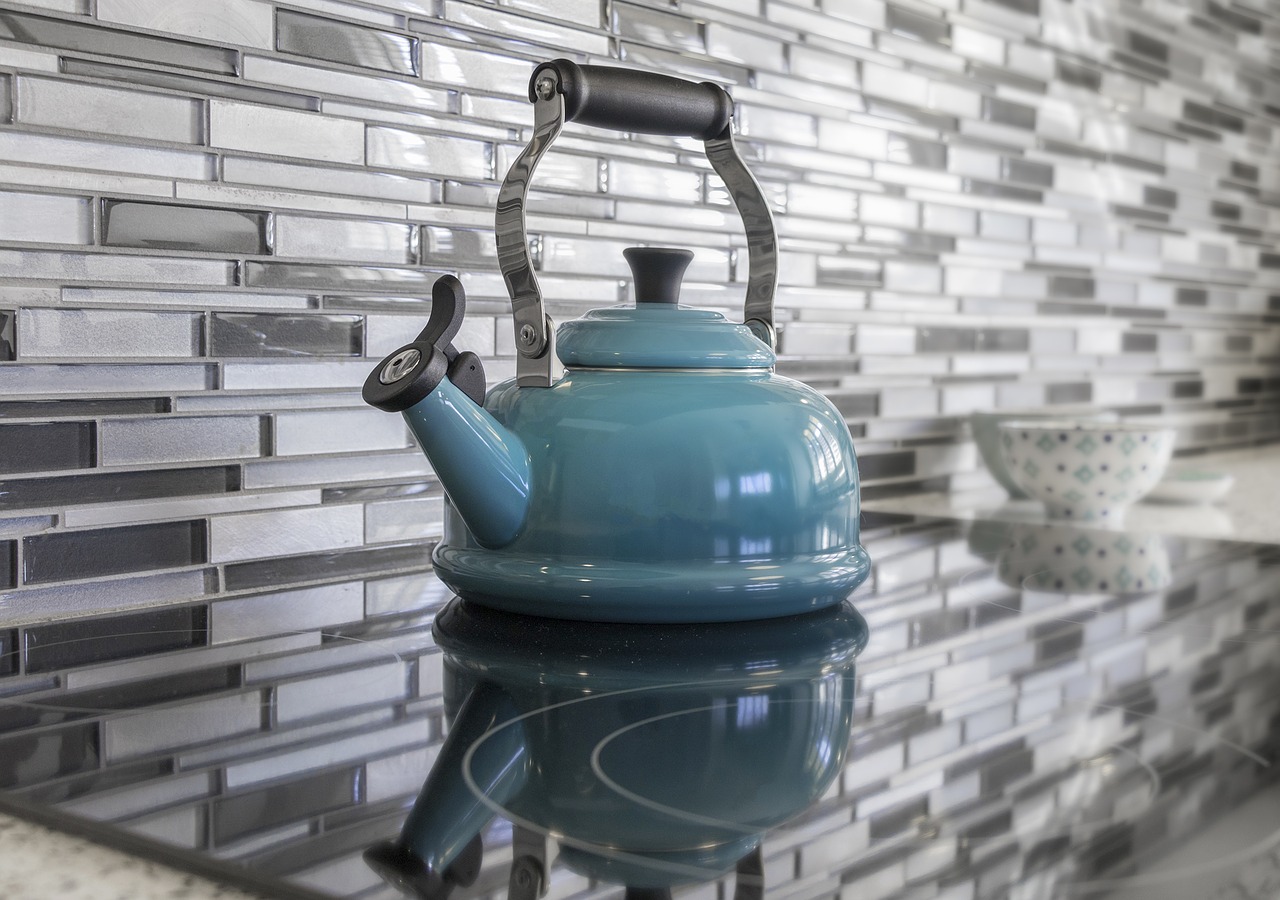
It’s true that it may be a good idea to just let a pro handle your tile backsplash installation. You can just relax, and you also know that it will be done properly.
But if you’re hankering for a DIY project to pass the time, then you may think that your kitchen needs an upgrade. Sure, you can put in a new tile backsplash to improve your kitchen. That means you have to know how to install your tile backsplash properly.
Here are the 10 basic steps of the entire process.
1. Measure the Backsplash Space
This step gives you a good idea of how many tiles you’ll need, considering the size of the wall and the size of the tiles. Once you know how many tiles you’ll need, you may want to add at least 10% more tiles to account for Murphy’s Law. Nothing goes perfectly right, and you’ll waste a few tiles along the way due to some mistakes. If you’re an absolute newbie at this job, adding 20% more tiles is actually a better idea.
Measuring your wall may not a straightforward step, if you have an irregular area to consider. That means you have to divide your measurements into separate rectangular sections. You may have wall sections under the kitchen windows, under the cabinets, and in between the cabinets.
2. Cover Your Countertops
You can use cardboard or heavy-duty kraft paper for this. You may also cover the stove. Or you can take the stove out for better access, or to let you apply the tiles behind the stove.
It’s also necessary that you shut off the power to the kitchen for the meantime. Remove all the electrical outlet faceplates as well, if you’re working on those areas.
3. Inspect the Walls
This is assuming that there’s no backsplash here already. If there’s a current backsplash, you’ll need to remove it first.
You have to make sure that the wall sections are clean. If it’s dirty, clean the wall with some soap and water. Then make sure you dry the wall completely.
If there are any damaged wall sections. Use spackling compound to repair damaged sections, and then sand those areas properly. If you have grease stains, use degreaser.
4. Marking the Walls
Then you need to plan your backsplash layout. That means marking your walls so you know where to put each tile.
At this point, you’ll also know when you have to cut down tiles to fit. You can use your manual tile cutter for this, but a wet saw is a good alternative. For circular incisions, use a tile nipper.
5. Prepare the Thinset Mortar
You should then prepare a modest amount of thinset mortar in bucket, using the manufacturer’s directions. You can’t really prepare all the mortar you need in one go, because they may dry out before you finish applying it all on the wall.
So, prepare enough mortar for just 2 square feet at a time.
6. Apply the Mortar
Use the trowel for this, and apply a skin-depth layer of mortar to your wall. You can use the flat side first, then apply at a 45-degree angle to make sure the mortar sticks to the wall.
You can then use the notched edge of the trowel to add a bit more mortar to the layer.
7. Setting the Tiles
Set the tiles on the wall, using your wall marks to guide you. Remember, at this point you should know where you’re putting each tile.
Do the work in sections. Use the trowel to press the tiles on to the mortar. Once you’re done with each 2-sq.ft. section, clean off any excess mortar on the tiles using a sponge.
If you have an extra space (such as under cabinets) that’s too small for your tiles to cover, then you may want to use a bit of molding to cover the space.
8. Drying
Once you’ve set all the tiles for your backsplash, let the mortar dry completely. The mortar manufacturer’s directions should give you an idea of how long this will take. Just take note that this can take as long as 24 hours, so this isn’t a 1-day job.
9. Preparing the Tiles for Grout
Applying the grout is usually the next process, but first you have to clean the tiles.
Then you can prepare the grout. Again, the instructions should be included in the grout package. Use another bucket if you have to mix the grout yourself (though there are premixed grout options).
10. Apply the Grout
Now apply the grout using the grout float, using diagonal directions. After that, use a damp sponge to remove the grout from the face of the tiles, using circular motions. Shape the grout joints fully.
You’ll have to use clean water for this step repeatedly, but don’t overdo it so you don’t wash out the grout joints.
After about 3 hours, use a damp sponge to wash off the last of the grout.
That’s all there is to it!

